How to Use Scheduled Blocking in BlockDistraction Pro
The BlockDistraction Team | November 15, 2025
Imagine a world where your distracting websites simply vanish during your most important work hours, without you having to lift a finger. That's the power of Scheduled Blocking, a cornerstone Pro feature in BlockDistraction, designed to instill self-discipline and boost your efficiency effortlessly.
This feature allows you to set precise times and days when specific blocking rules become active. No more relying on willpower – just set it and forget it, knowing BlockDistraction has your back.
Why Scheduled Blocking is a Game-Changer
- Automation: Eliminate the need to manually activate/deactivate blocking rules every day.
- Consistency: Build strong work habits by consistently blocking distractions during your core productivity hours.
- Peace of Mind: Focus knowing that tempting websites are inaccessible when they shouldn't be.
- Improved Discipline: A powerful tool for anyone aiming for better self-control over their online habits.
Setting Up Your First Schedule (Pro Feature)
The process of creating a scheduled blocking rule is straightforward and intuitive. Here’s a step-by-step guide:
Step 1: Create or Select Your Blocking Rule
Whether you're using the Free or Pro version, any blocking rule you create for a website (e.g., to block facebook.com) is initially set to "Always active" by default. This means it's active 24/7 once enabled.
To access the scheduling options, you first need to have a rule in your BlockDistraction list.
- Open your BlockDistraction extension.
- Go to the "Rules" tab (or equivalent).
- Find the website you want to schedule (or add a new one).
Step 2: Access the Scheduling Interface
Once you've identified the rule, you'll need to open its dedicated scheduling calendar:
- Locate the rule in your list.
- On the right side of the rule's row, you'll see a button labeled "Edit" (it's typically the rightmost button in the rule's row). Click this button.
- This action will open the scheduling interface for that specific rule.
Step 3: Define Your Blocking Schedule
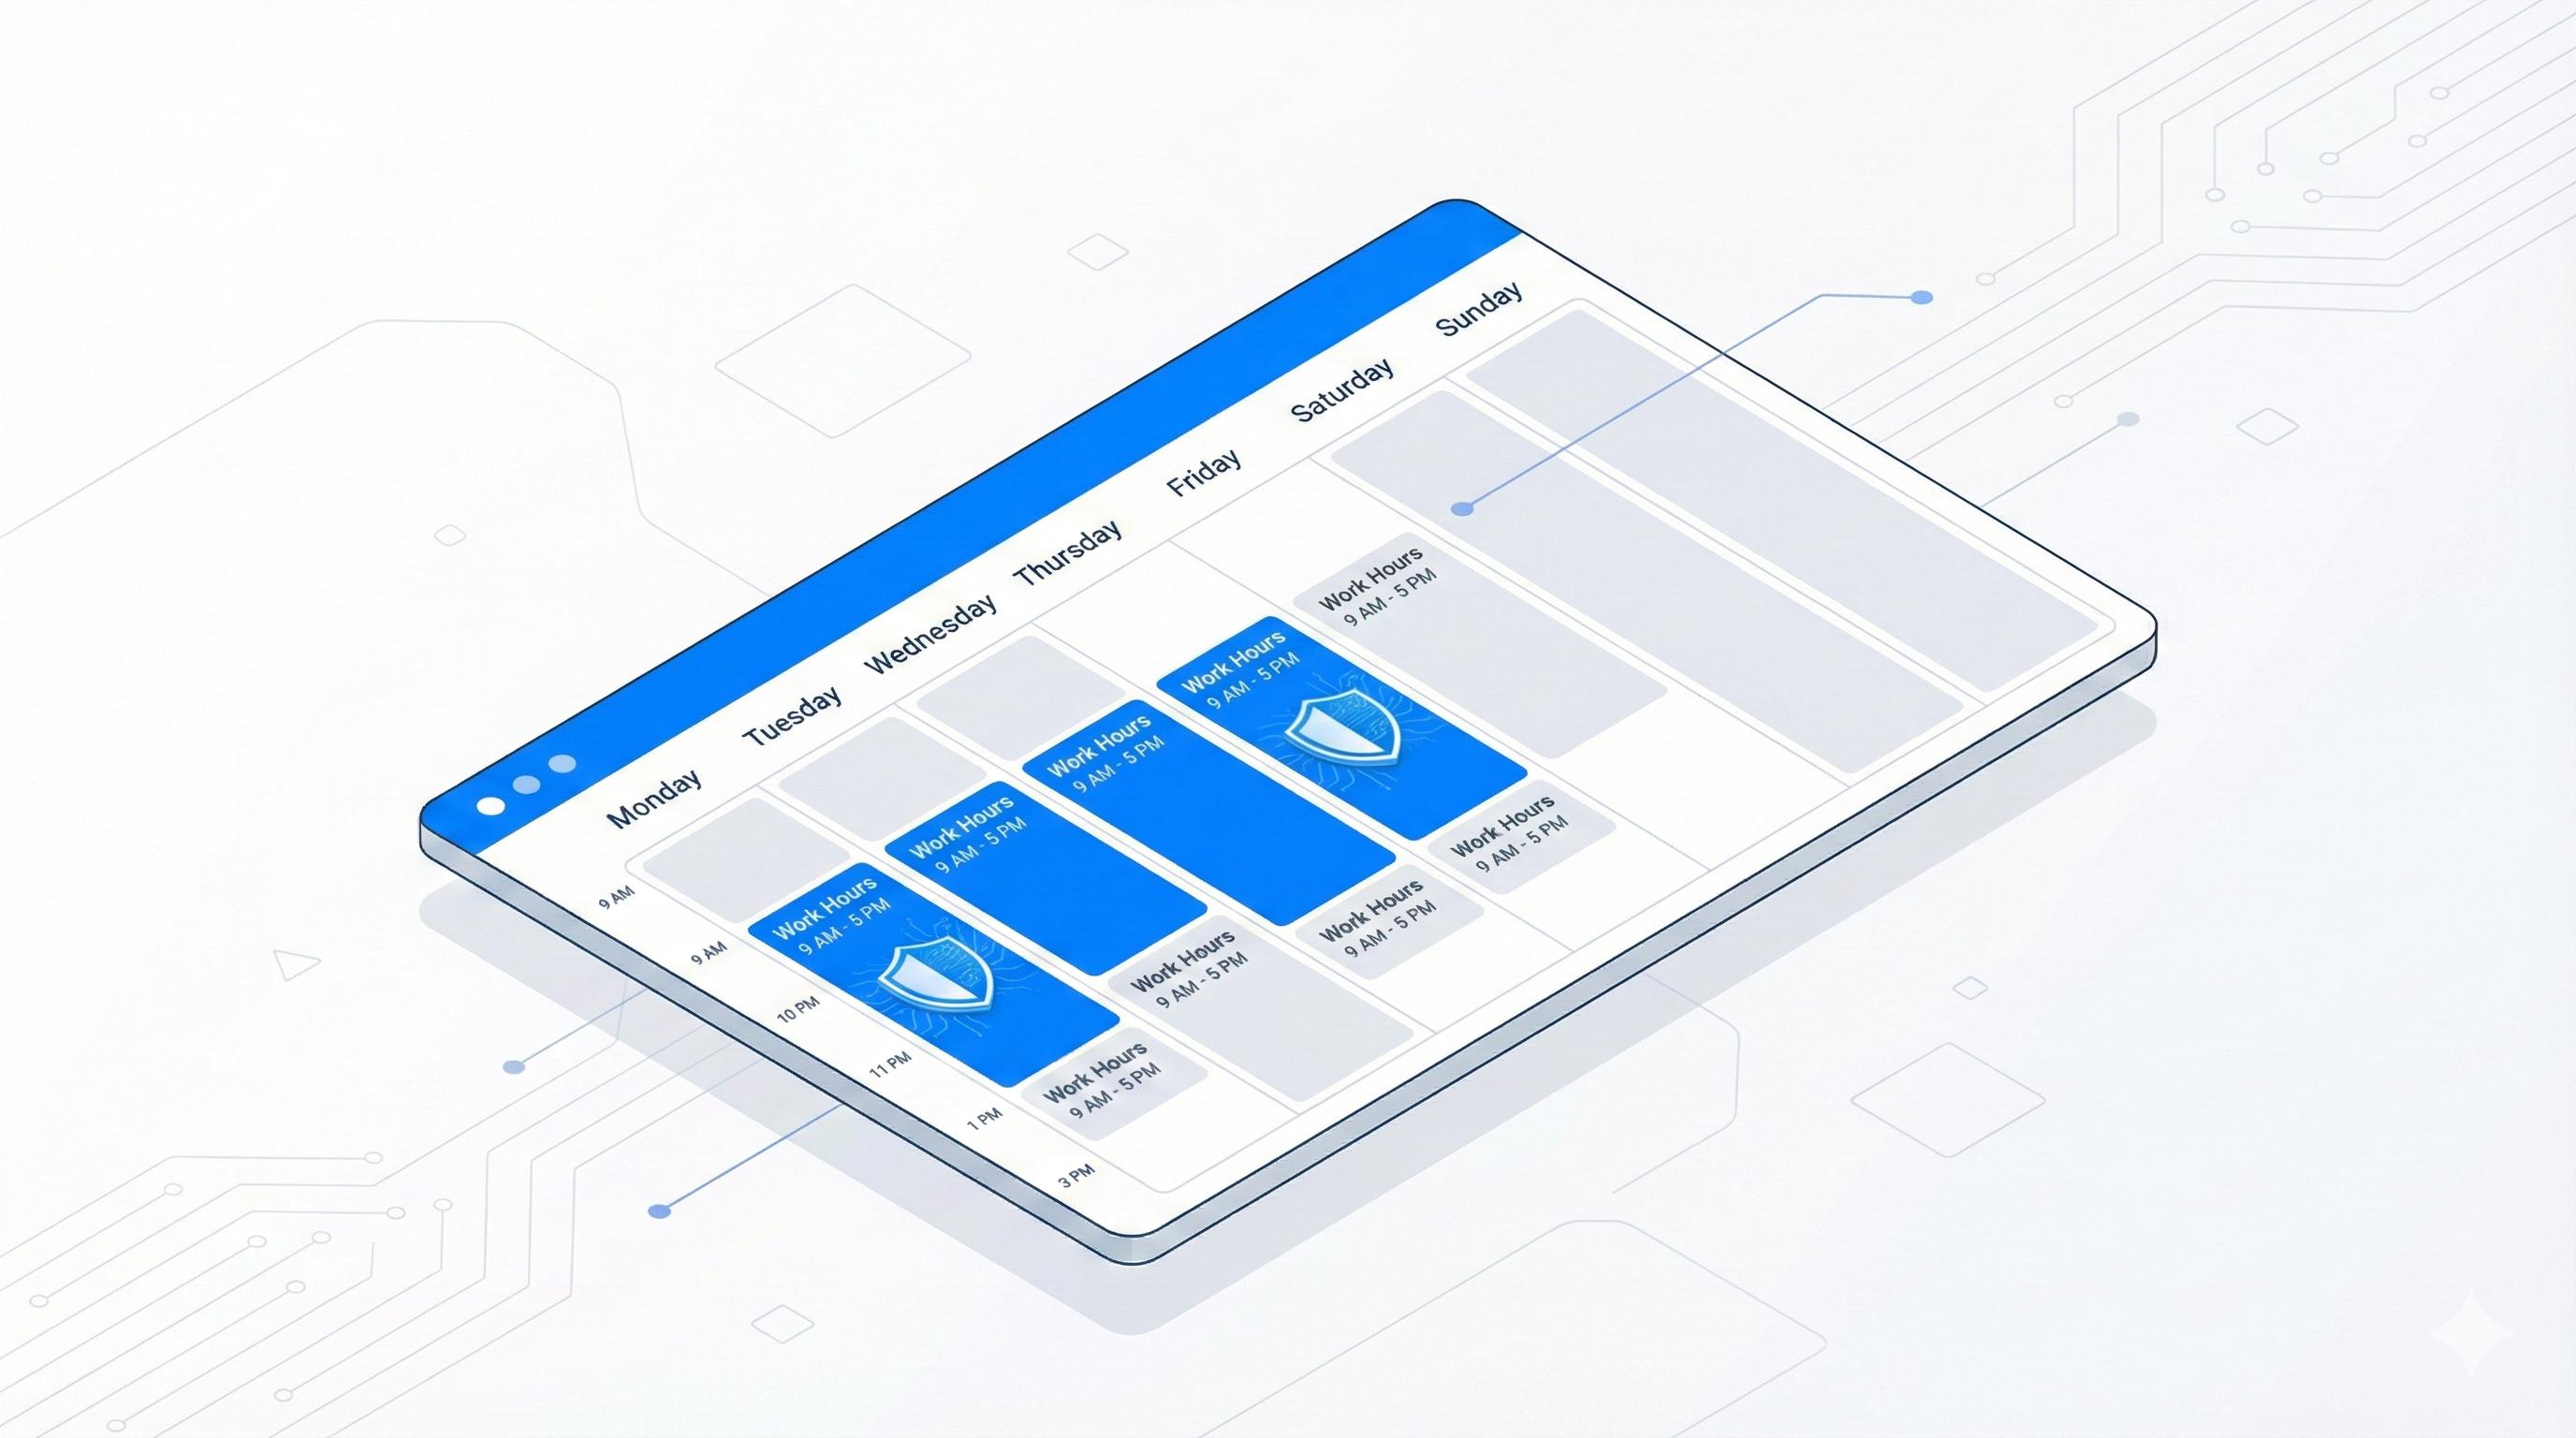
The scheduling interface presents a grid-like calendar where you can define your active blocking periods. Here’s how to use it:
- Select Days: Click on the days of the week when you want the rule to be active (e.g., Monday, Tuesday, Wednesday, Thursday, Friday for a typical workday).
- Set Start and End Times: You'll be able to specify the start and end hours for the blocking rule. For example, to block distractions during standard office hours, you might select
09:00 as the start time and 17:00 as the end time.
- Important Note on Flexibility: Please be aware that the scheduling tool applies the selected start and end hours to all chosen days simultaneously. For instance, if you select Monday to Friday and set the time from 09:00 to 17:00, the rule will be active during these hours for every selected workday. It does not currently support setting different times for individual days within a single rule.
Step 4: Save and Enjoy Your Focus
Once you've marked your desired days and hours:
- Click the "Save" button within the scheduling interface.
- The rule's status will update, indicating that it's now scheduled.
- Close the interface, and you're all set! BlockDistraction Pro will automatically activate and deactivate that rule according to your defined schedule.
Empower Your Workday
Scheduled Blocking is a powerful testament to BlockDistraction Pro's ability to help you take control of your digital environment. By automating your focus, you free up mental energy that would otherwise be spent fighting distractions, allowing you to channel it into what truly matters: your work.
 BlockDistraction
 Install for Chrome
 Install for Firefox
 Install for Edge